Introduction: The Imperative Need to Mend Drywall Flaws
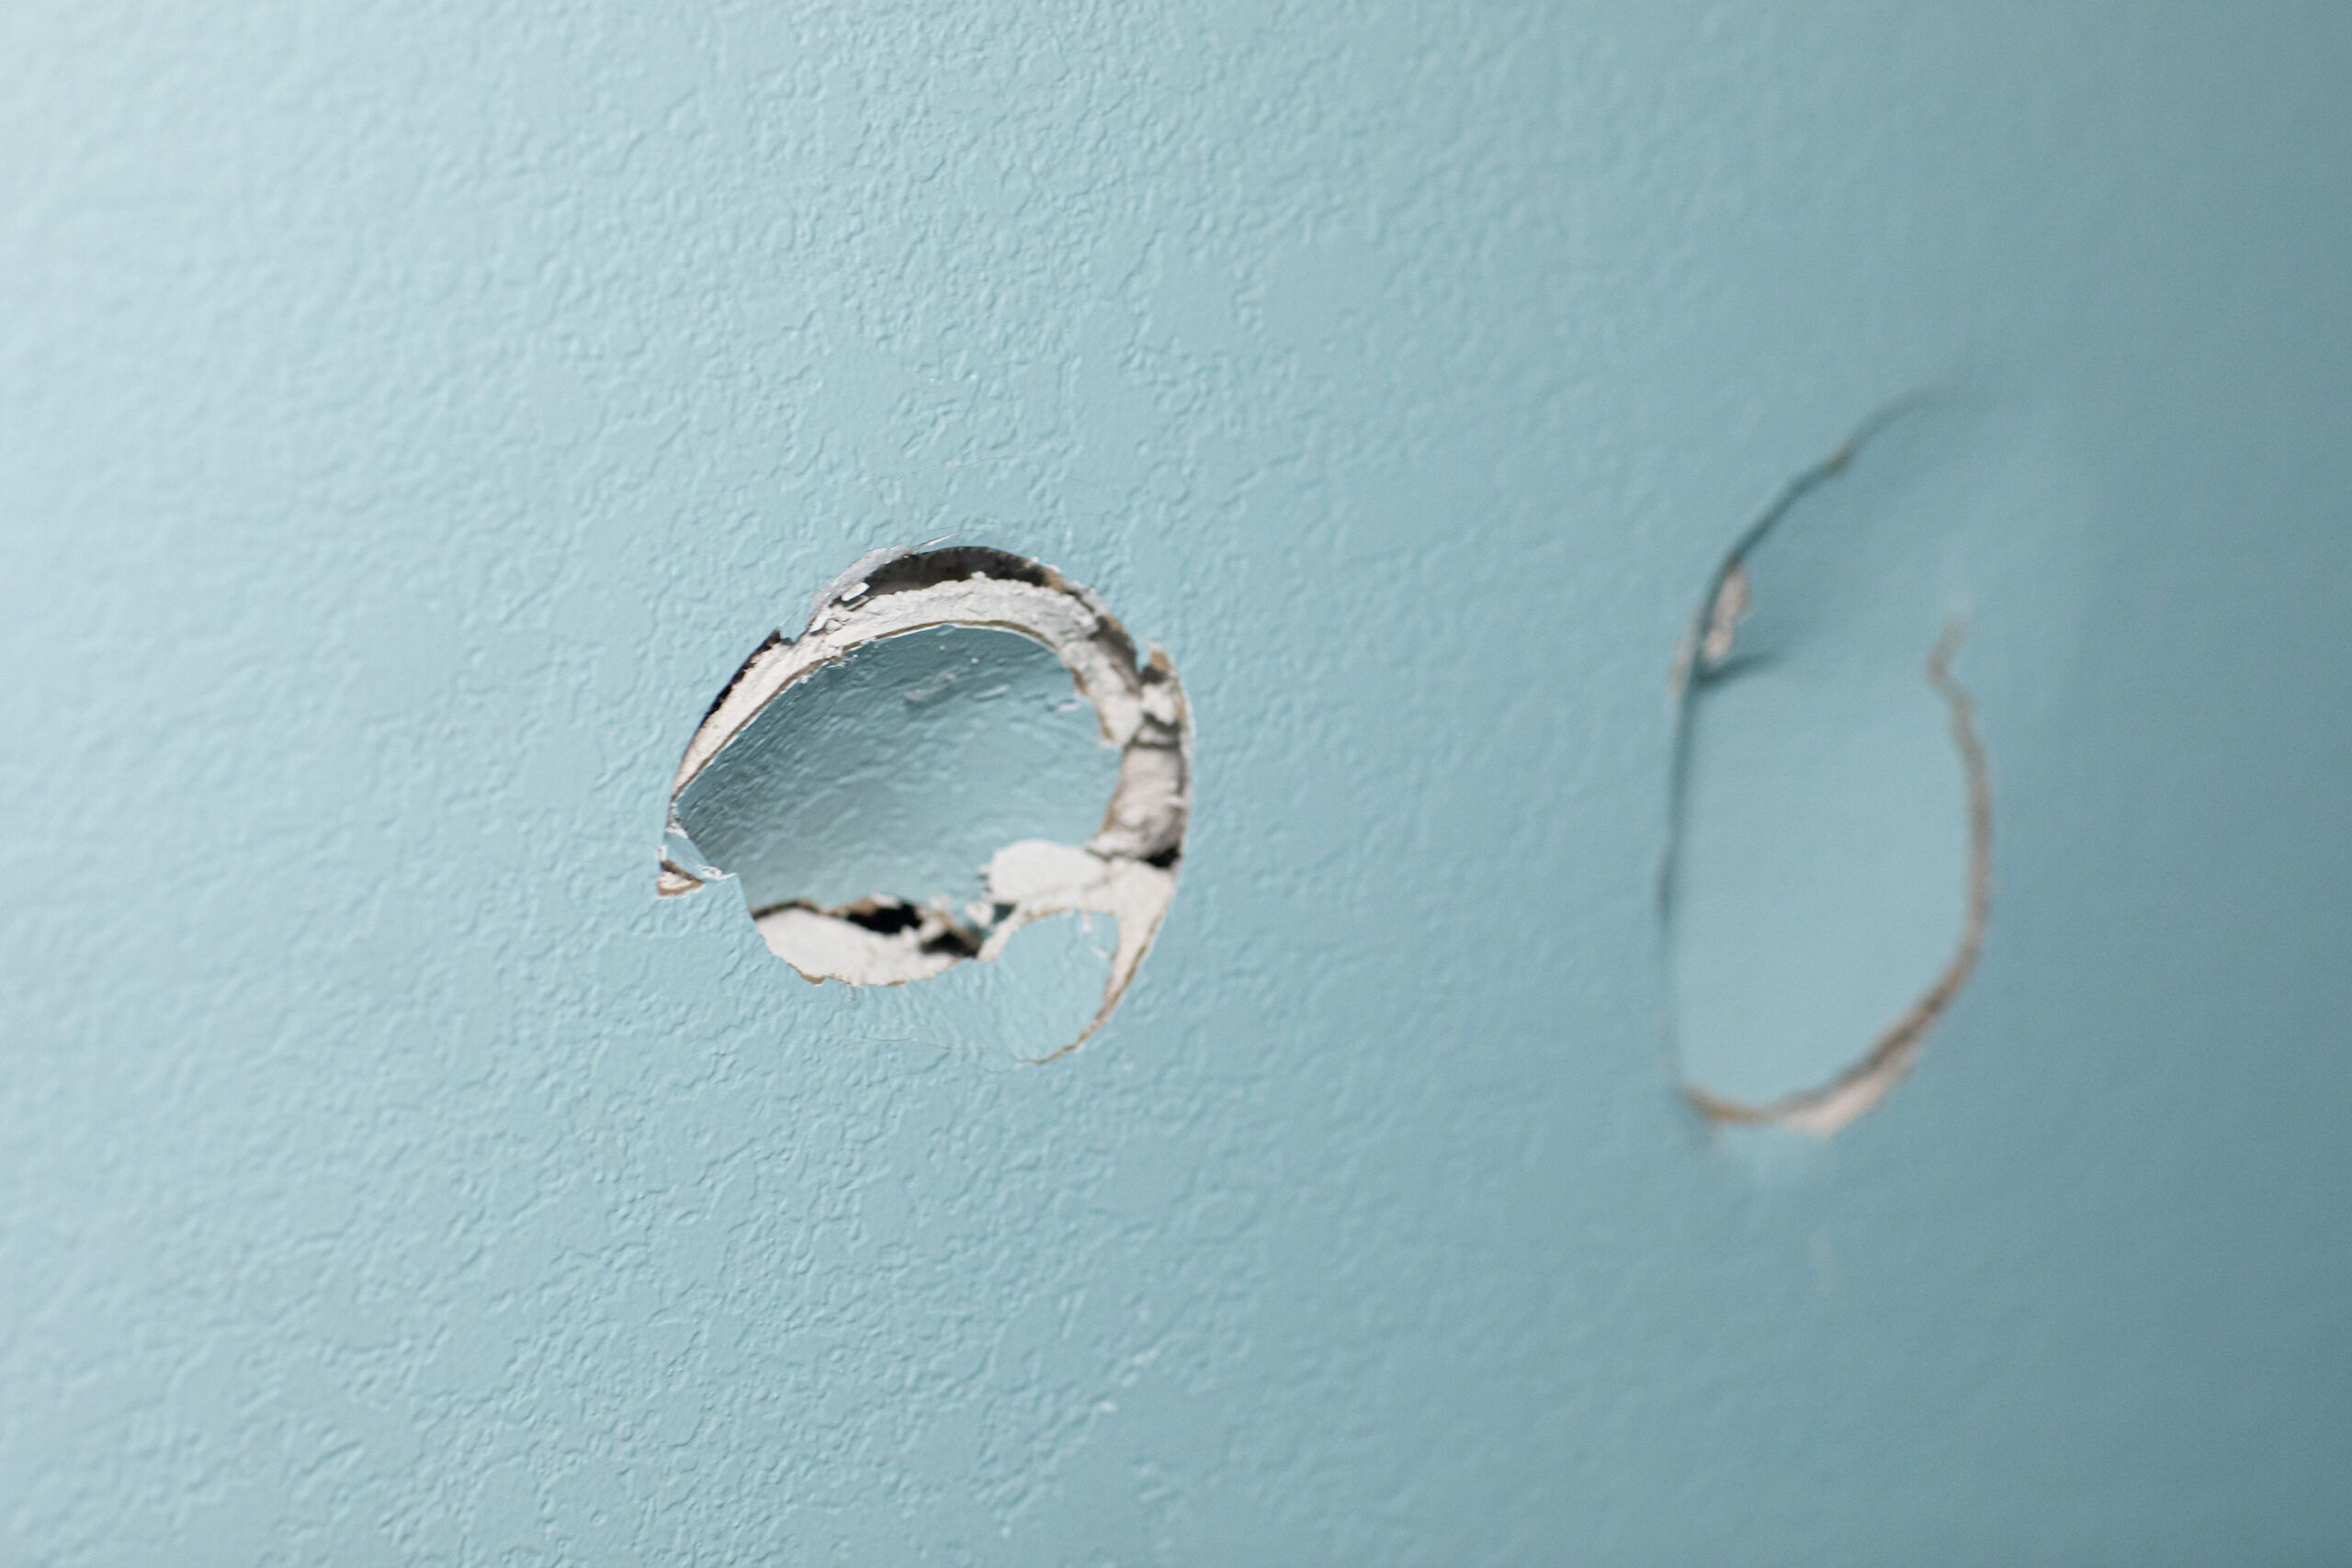
Every homeowner or renter has faced the inconvenience of a hole in drywall. Whether it’s from a door handle, a playful pet, or an accidental knock, these holes are both unsightly and troublesome. However, with the right approach, tools, and materials, we can address this common household issue efficiently and seamlessly.
Why Drywall? The Advantages and Significance
Before we delve into the repair process, let’s understand why drywall is such a prevalent choice. Drywall, also known as plasterboard or gypsum board, is a panel made of calcium sulfate dihydrate. Its primary advantages include:
- Efficiency in Installation: Faster than traditional plaster.
- Affordability: A cost-effective choice for interior walls.
- Flexibility: Can be easily cut to fit any architectural design.
Understanding its significance ensures we treat our repair process with the necessary respect and thoroughness.
Step-by-Step Guide to Patching Drywall Holes
1. Identifying the Size of the Hole
Different hole sizes require different approaches. Generally, we categorize holes as:
- Small Holes (Nail or screw-sized)
- Medium Holes (up to the size of a fist)
- Large Holes (larger than a fist)
2. Tools and Materials You’ll Need
For a successful repair, having the right tools and materials on hand is imperative. Here’s what we recommend:
- Joint Compound
- Putty Knife
- Drywall Patch Kit (for larger holes)
- Sandpaper (120-grit)
- Drywall Tape
- Tape Measure
- Utility Knife
3. Repairing Small Holes
- Step 1: Clean around the hole to ensure no loose debris or dust.
- Step 2: Using a putty knife, fill the hole with a joint compound.
- Step 3: Allow the compound to dry as per the manufacturer’s instructions. This can vary, but we often advise overnight drying.
- Step 4: Once dry, sand the surface until it’s smooth and flush with the wall.
4. Addressing Medium Holes
- Step 1: Start by cleaning the hole’s perimeter.
- Step 2: Place a drywall patch over the hole. These are typically adhesive and will stick in place.
- Step 3: With a putty knife, cover the patch with a joint compound.
- Step 4: Let it dry completely, then sand until the wall is smooth.
5. Fixing Large Holes
Large holes may seem daunting, but with patience, we can achieve excellent results.
- Step 1: Measure the hole’s dimensions.
- Step 2: Cut a piece of drywall to fit the measurements, ensuring it’s slightly larger than the hole.
- Step 3: Place the cut piece into the hole and secure it using drywall screws.
- Step 4: Cover the seams with drywall tape.
- Step 5: Apply a joint compound over the tape and screws. Let it dry.
- Step 6: Sand the area for a smooth finish.
Post-Repair: Painting and Final Touches
Once we’ve patched the hole, it’s often noticeable due to the disparity in paint. To ensure a consistent look:
- Step 1: Prime the repaired area.
- Step 2: Paint over the primer with a color that matches your wall.
Conclusion: Mastery in Home Repair
By following our comprehensive guide, we ensure that any holes in your drywall will be a thing of the past. With patience, the right tools, and attention to detail, we can make our walls look as good as new. It’s not just about aesthetics, but also about taking pride in our living spaces and ensuring they stand the test of time.
Leave a Reply
You must be logged in to post a comment.